


My little finger tells me that you are about to change your decor! Am I right? Easy deduction, if you are looking for how to put a panoramic wallpaper. 😉
How to put a panoramic wallpaper?
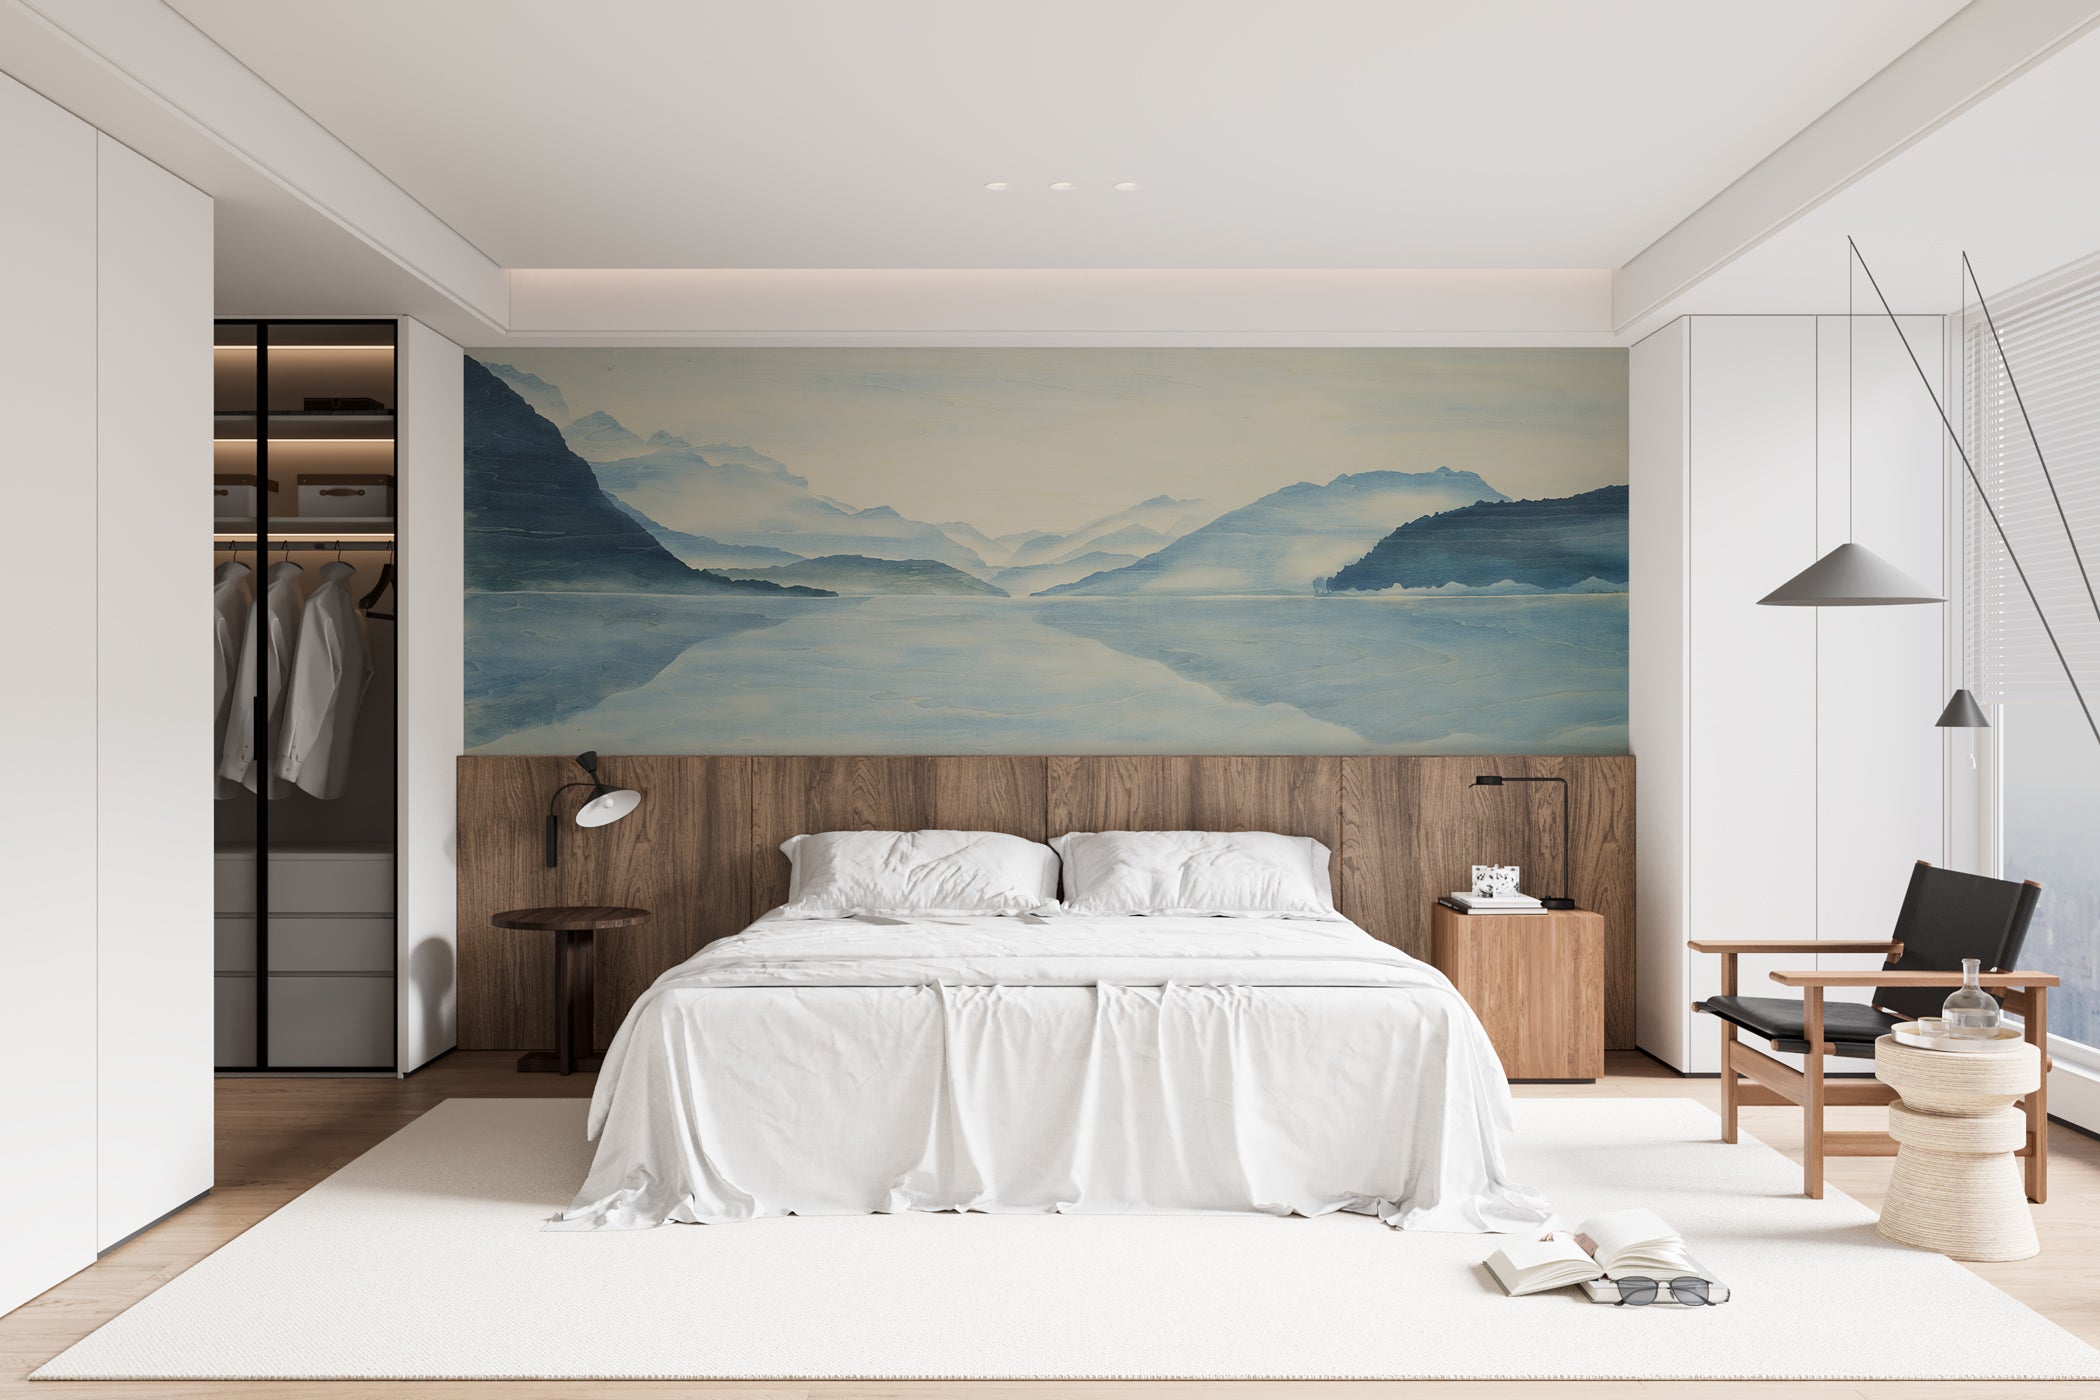
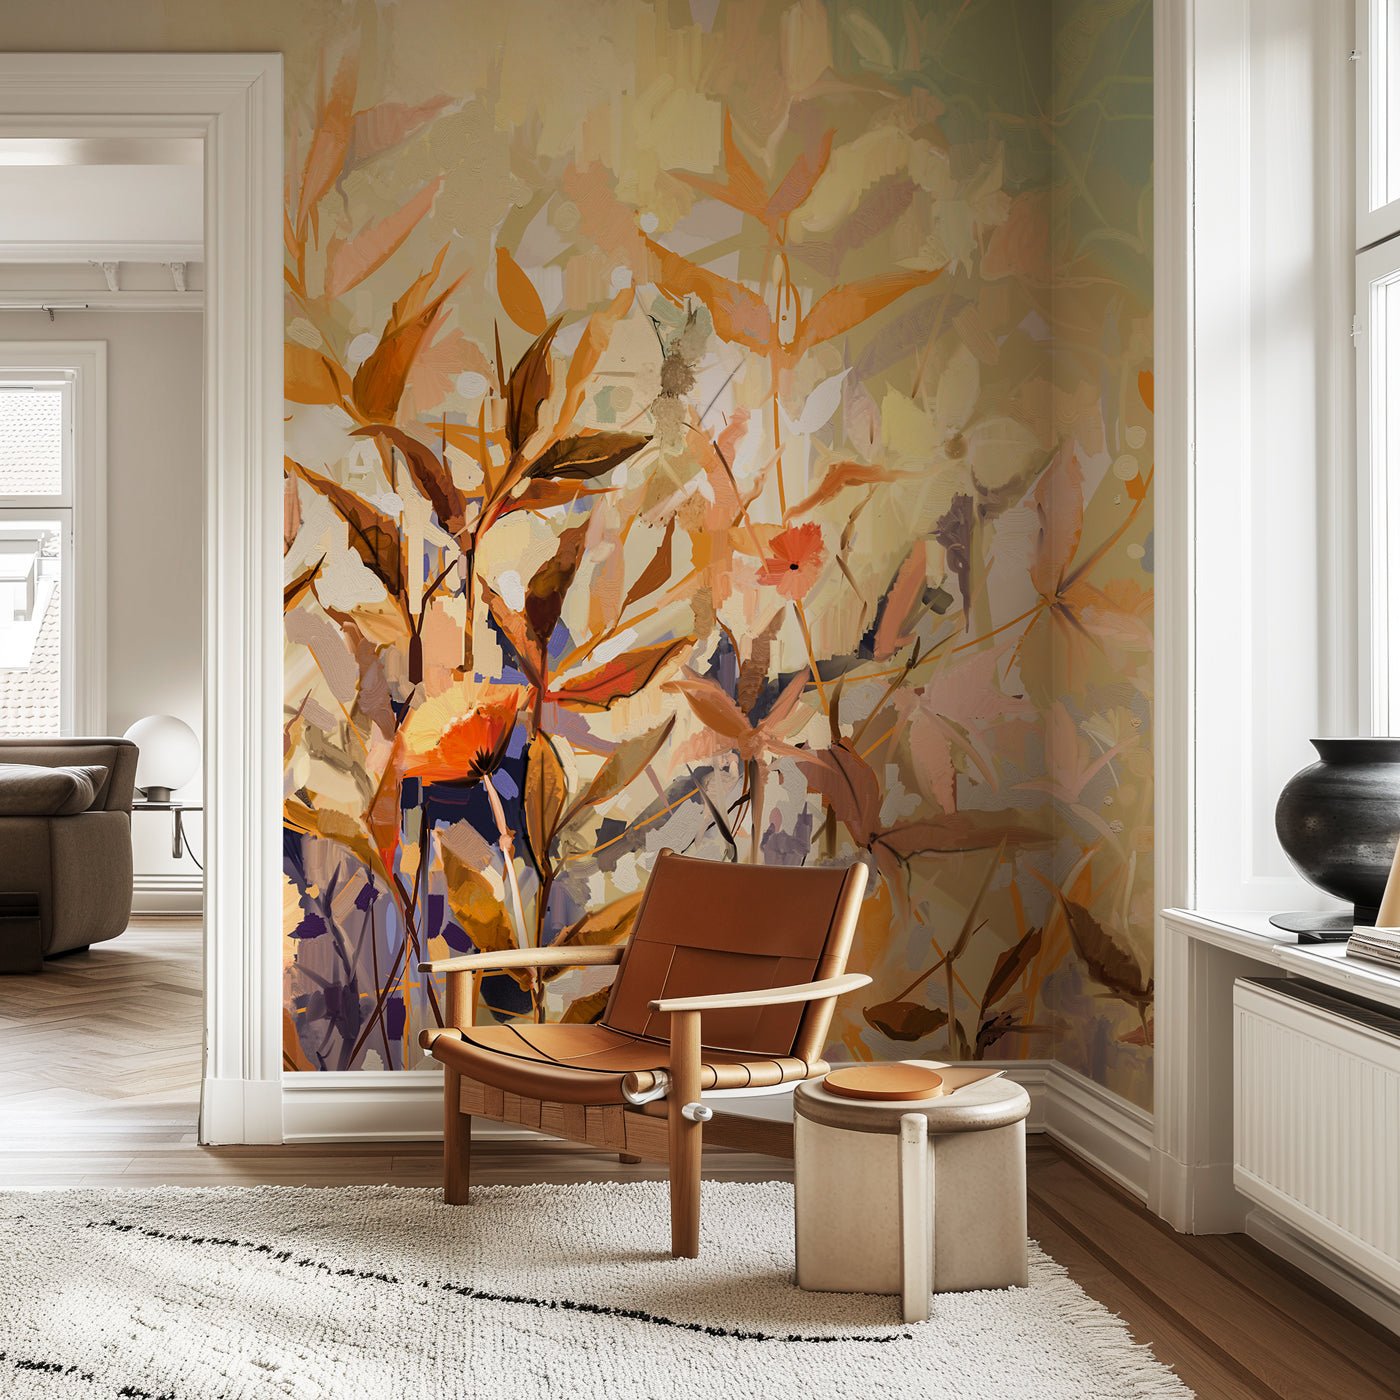
Panoramic wallpaper is very trendy in the world of decor, and it is today on the podium of must have to have. The wallpaper is appreciated in all rooms in the house, and for good reason: he dares the colors, says his shapes. It transforms your interior, and makes it even more beautiful, in just a few hours. And above all it is easy to install!
Do you still hesitate to get started because the pose scares you? Come on, we will help you see more clearly in terms of panoramic wallpaper. You will see, a little elbow oil, and presto, it's done.
Thanks to the evolution of the types of wallpapers, which you will find right here, you should no longer be afraid to put your wall tapestry yourself, thanks to the intimate wallpaper. But of course, if you prefer to call on a professional, you can. You are free from your choices. 😊
Bring your panoramic wallpaper, and let's go!
When to put your wallpaper putting?
Is there a good time to put your wallpaper? Experts will answer you yes, and we can tell you: it's true. Many factors can get into play in the installation of a wallpaper: heat, humidity, the type of glue, the type of wall etc ... But that's all. We just advise you to pay attention to the temperature of your room: Avoid putting your wallpaper on a heat wave, because glue can play tricks on you. 😉
What do you need as a material to put an unstained wallpaper?
To be at most comfortable with your installation, we advise you to collect the following equipment:
- A level or a lead wire
- A cutter with a new blade
- A spatula to maroufle
- A glue brush
- A jar of glue for intricated wallpaper
- Slightly moistened sponge or microfiber
- A layer rule
Cutter
Glue brush
Marouflage spatula
Green Wallpaper
How to prepare a line to line?
This is a step that may seem futile at first glance, but it is the latter that will allow you to obtain a perfect and flawless installation.
The different cases of preparation and support
► If your wall is already covered with a tapestry, a fiberglass, or another material, you must remove it, find the "raw" wall, coat it if there are holes and sand it so that it is smooth and without roughness.
► If your wall is painted in a bright color or contrary to the panoramic wallpaper you have chosen, we advise you to repaint it in white, so that the color does not come out in light through your tapestry, or that the painting is seen during the retraction of the joints, between the les and on the borders of your wall.
► If your wall is very damaged, it is advisable to rebuch holes, cracks, then sand and clean the dust. Your wall should be completely smooth.
► If you want to put your panoramic wallpaper on closet doors, the latter must be very smooth, and a layer of primary is applied so that the glue hangs well.
► If your wall is new, It is necessary to put either a print layer or a primary of hanging.
In all the aforementioned cases, the wall will have to be cleaned with a slightly humidified microfiber cloth, to remove all possible dust. Finally, your wall must be clean and dry before applying glue.
Let's move on to the installation, the famous installation of panoramic wallpaper
A panoramic wallpaper reads like a sentence, from left to right. This is why, you will have to start your pose on the left corner of your wall, with Le N ° 1.
Take the level of your wall correctly
It is important to upgrade your wall so that your wall fresco is straight. To do this, put your level on the wall (no corner, because the walls are never 100% straight), and trace the level line with a pencil of paper. The line should not be very pronounced, so that it is not guessing through your wallpaper.
Gluing
If you have opt for a panoramic wallpaper from MuralConcept, don't worry about pre-school on paper. Our wallpapers are introated and therefore allow direct installation on the wall.
The glue dries quickly, which is why we advise you to put your glue with a brush only where you will put your Lé. Do not pill the whole wall directly, the glue could be dry over your pose.
The installation of the first le
The glue is put, the level is made, you are ready for the moment expected time: the installation of the first wallpaper. We advise you to let go of a very small margin in height and in width in order to facilitate installation. Once the first one is posed, Remember to maroufle with your spatula to escape all the air bubbles and the surplus of glue that could have nestled under the first Lé.
The hardest part has passed, you can now continue your pose by repeating the gluing, installation and marouflage. Our panoramic wallpapers being tailor-made, don't fear fittings, they will be easy to find. Also, during the joint les, make sure that the les are well glued, because during drying, the les can retract slightly. Remember to clean the surplus glue with a light light microfiber.
Finishes, for a perfect result
The last step is to perfect your panoramic for a breathtaking result. To do this, smooth your fittings well with your marouflage spatula. You can also use a joint roulette if you wish, for more ease. Finally, Clean the edges of your custom wallpaper and the joints of the injuries with a slightly humidified sponge or microfiber To remove glue residues, which can, if they are not cleaned, make stains appear on your beautiful panoramic wallpaper.
The end word ♥
At MuralConcept, We are careful that all of our customers and partners succeed at best pose, to obtain a perfect and spectacular result, whether you are professional or simply beginner. This is why we print our wallpapers so that they are simple to lay down:
→ Our les are numbered, so that you are not mistaken in the order of the pose
→ No need for pre-school, The wall gluing is enough
→ Having a wallpaper to the measurements of your wall facilitates the installation and the fittings
→ We adapt the dimension of the les according to the size of your wall for an even easier installation
You now have all the keys in hand to find out how to manage a panoramic wallpaper. Do you have helped our article? Know that if you have the slightest question or the slightest doubt, our customer service will be delighted to enlighten you and help you prepare your installation.
To reach our customer service, It's here.
We have also made specially for you a pose guide, which will help you step by step, in PDF format that you can print.
